Five Ways to Use Paper in a Photoshoot

Paper is one of my favorite ways to create interesting shots. It’s super inexpensive, and there are endless ways that it can be used. You probably already have a bunch of it laying around your house that you could use to play around with right now. We use paper a lot to create patterns or emphasis. I love going to Michael’s and going through all their plain scrapbook paper to pick colors for specific shots. The size/thickness works for most shoots, and they have a ton of colors to choose from. Michael’s also has large poster board in a few different colors as well which is helpful if you need larger sheets.
Because we use paper so often in shoots, we bought a Cricut which has turned out to be one of the best purchases we have made. It saves so much time, and I have been really happy with how clean the cuts are, even the really detailed ones. I also love that it can cut vinyl which I like to use sometimes instead of paper because it lays smooth. If you are going to be cutting a lot of paper, I definitely recommend a Cricut or similar machine, however you can still use paper in plenty of ways if you cut it by hand. The flowers used in the header image for this post were cut by hand, and so were many other pieces throughout this post.
If you’re cutting by hand, my advice is to start with a design on your computer. Print out the design/shape and then cut it out. Use that as a template to trace onto your paper. Trace on the backside and use pencil so that the lines don’t show, and then use scissors to cut out your design. If you have detailed edges or small pieces to cut, I would use an x-acto knife and cutting mat. While there are more steps involved in this method, it still is a really efficient way to create some fun shots. If you need to glue multiple shapes together, use rubber cement which doesn’t wrinkle the paper.
Here are some ideas for how to use paper to make an impact in your shoots.
backgrounds
Paper is the best way to create a smooth, edgeless background. This is achieved using “seamless paper.” You’ll want to purchase paper that is high quality and thick if you will be using it as a background. The first time we purchased rolls of paper, we purchased cheap rolls of what I think was actually matte wrapping paper. It worked ok, but the paper had lines where it had been rolled, and it created a lot of extra photoshop work. We now use Savage seamless paper. They have so many color options, and if you’re careful you can reuse the same section over and over. If you’re in the South Bay like us, you can get Savage at San Jose Camera and Video, if you aren’t in a rush, you can place orders with them to save on shipping costs. You can also order it on B&H and Amazon.


breaking up the background
In addition to creating a smooth background, you can layer paper to “breakup” the background. You can cut the paper so it has a smooth edge, or tear it to create texture. You can even layer multiple sheets of paper if you want to get real creative. This is a really great way to add dimension and color to your shots. You can also use paper in part of the background to create an interesting look. You could show just the paper, or even show the background stand to give it a “behind the scenes” look.


patterns and shapes
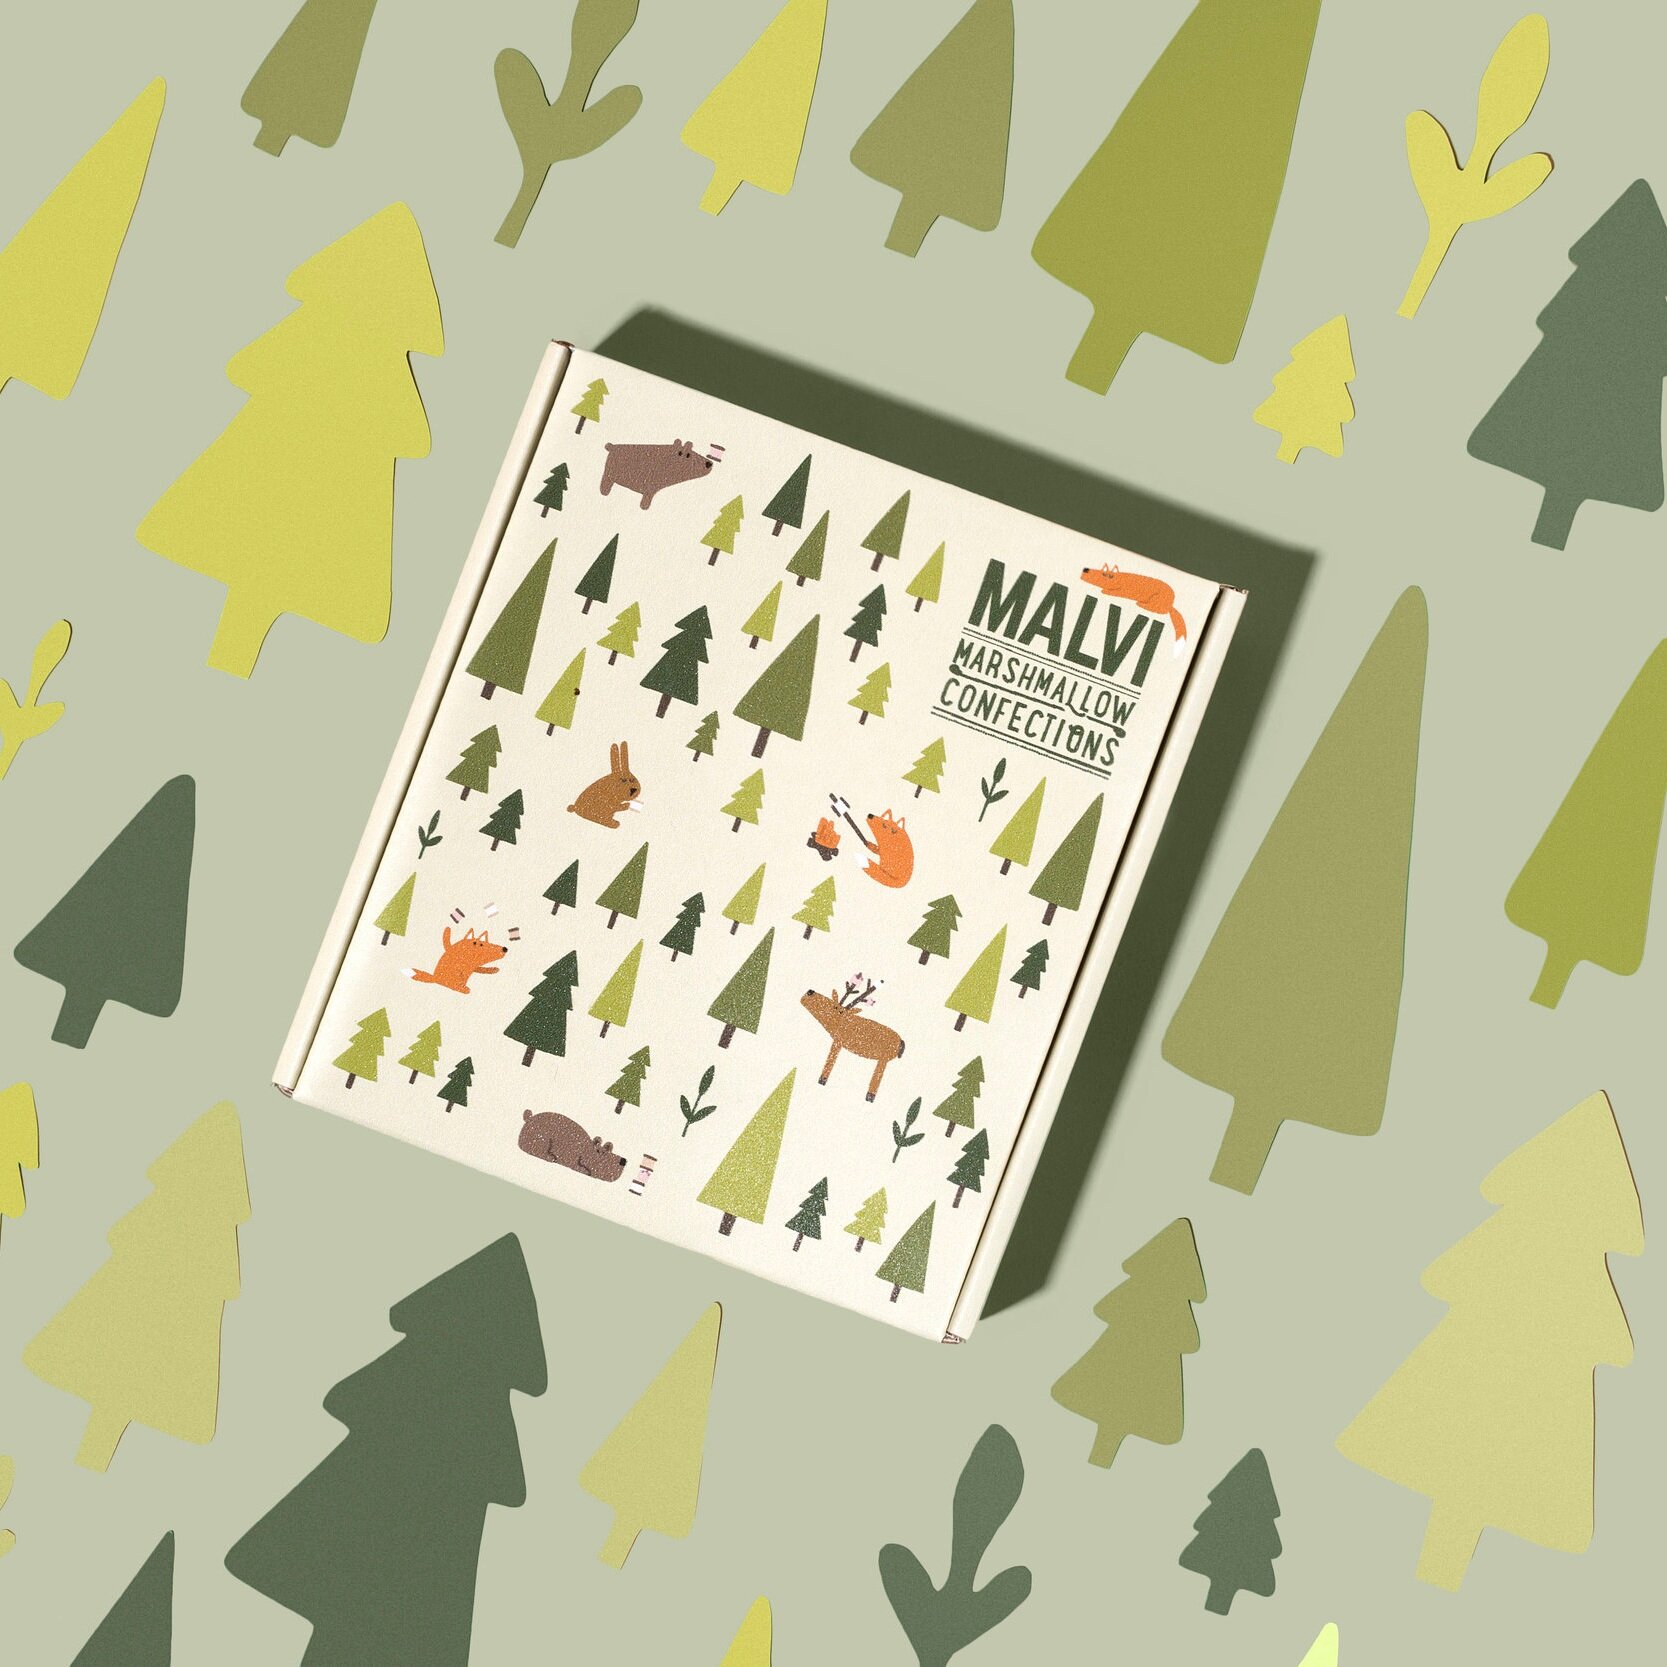
Making patterns is one of my favorite ways to use paper and we use this method a lot when shooting for packaging clients. It is so, so simple, but it can have such a big visual impact. I will take part of the brand’s logo or another significant shape and then recreate it and cut it out to make into a pattern that brings emphasis to their branding. You can take shapes and lay them all flat around the object or scene (use double sided tape underneath to make them lie flat) or hang the shapes using fishing line.


create a scene
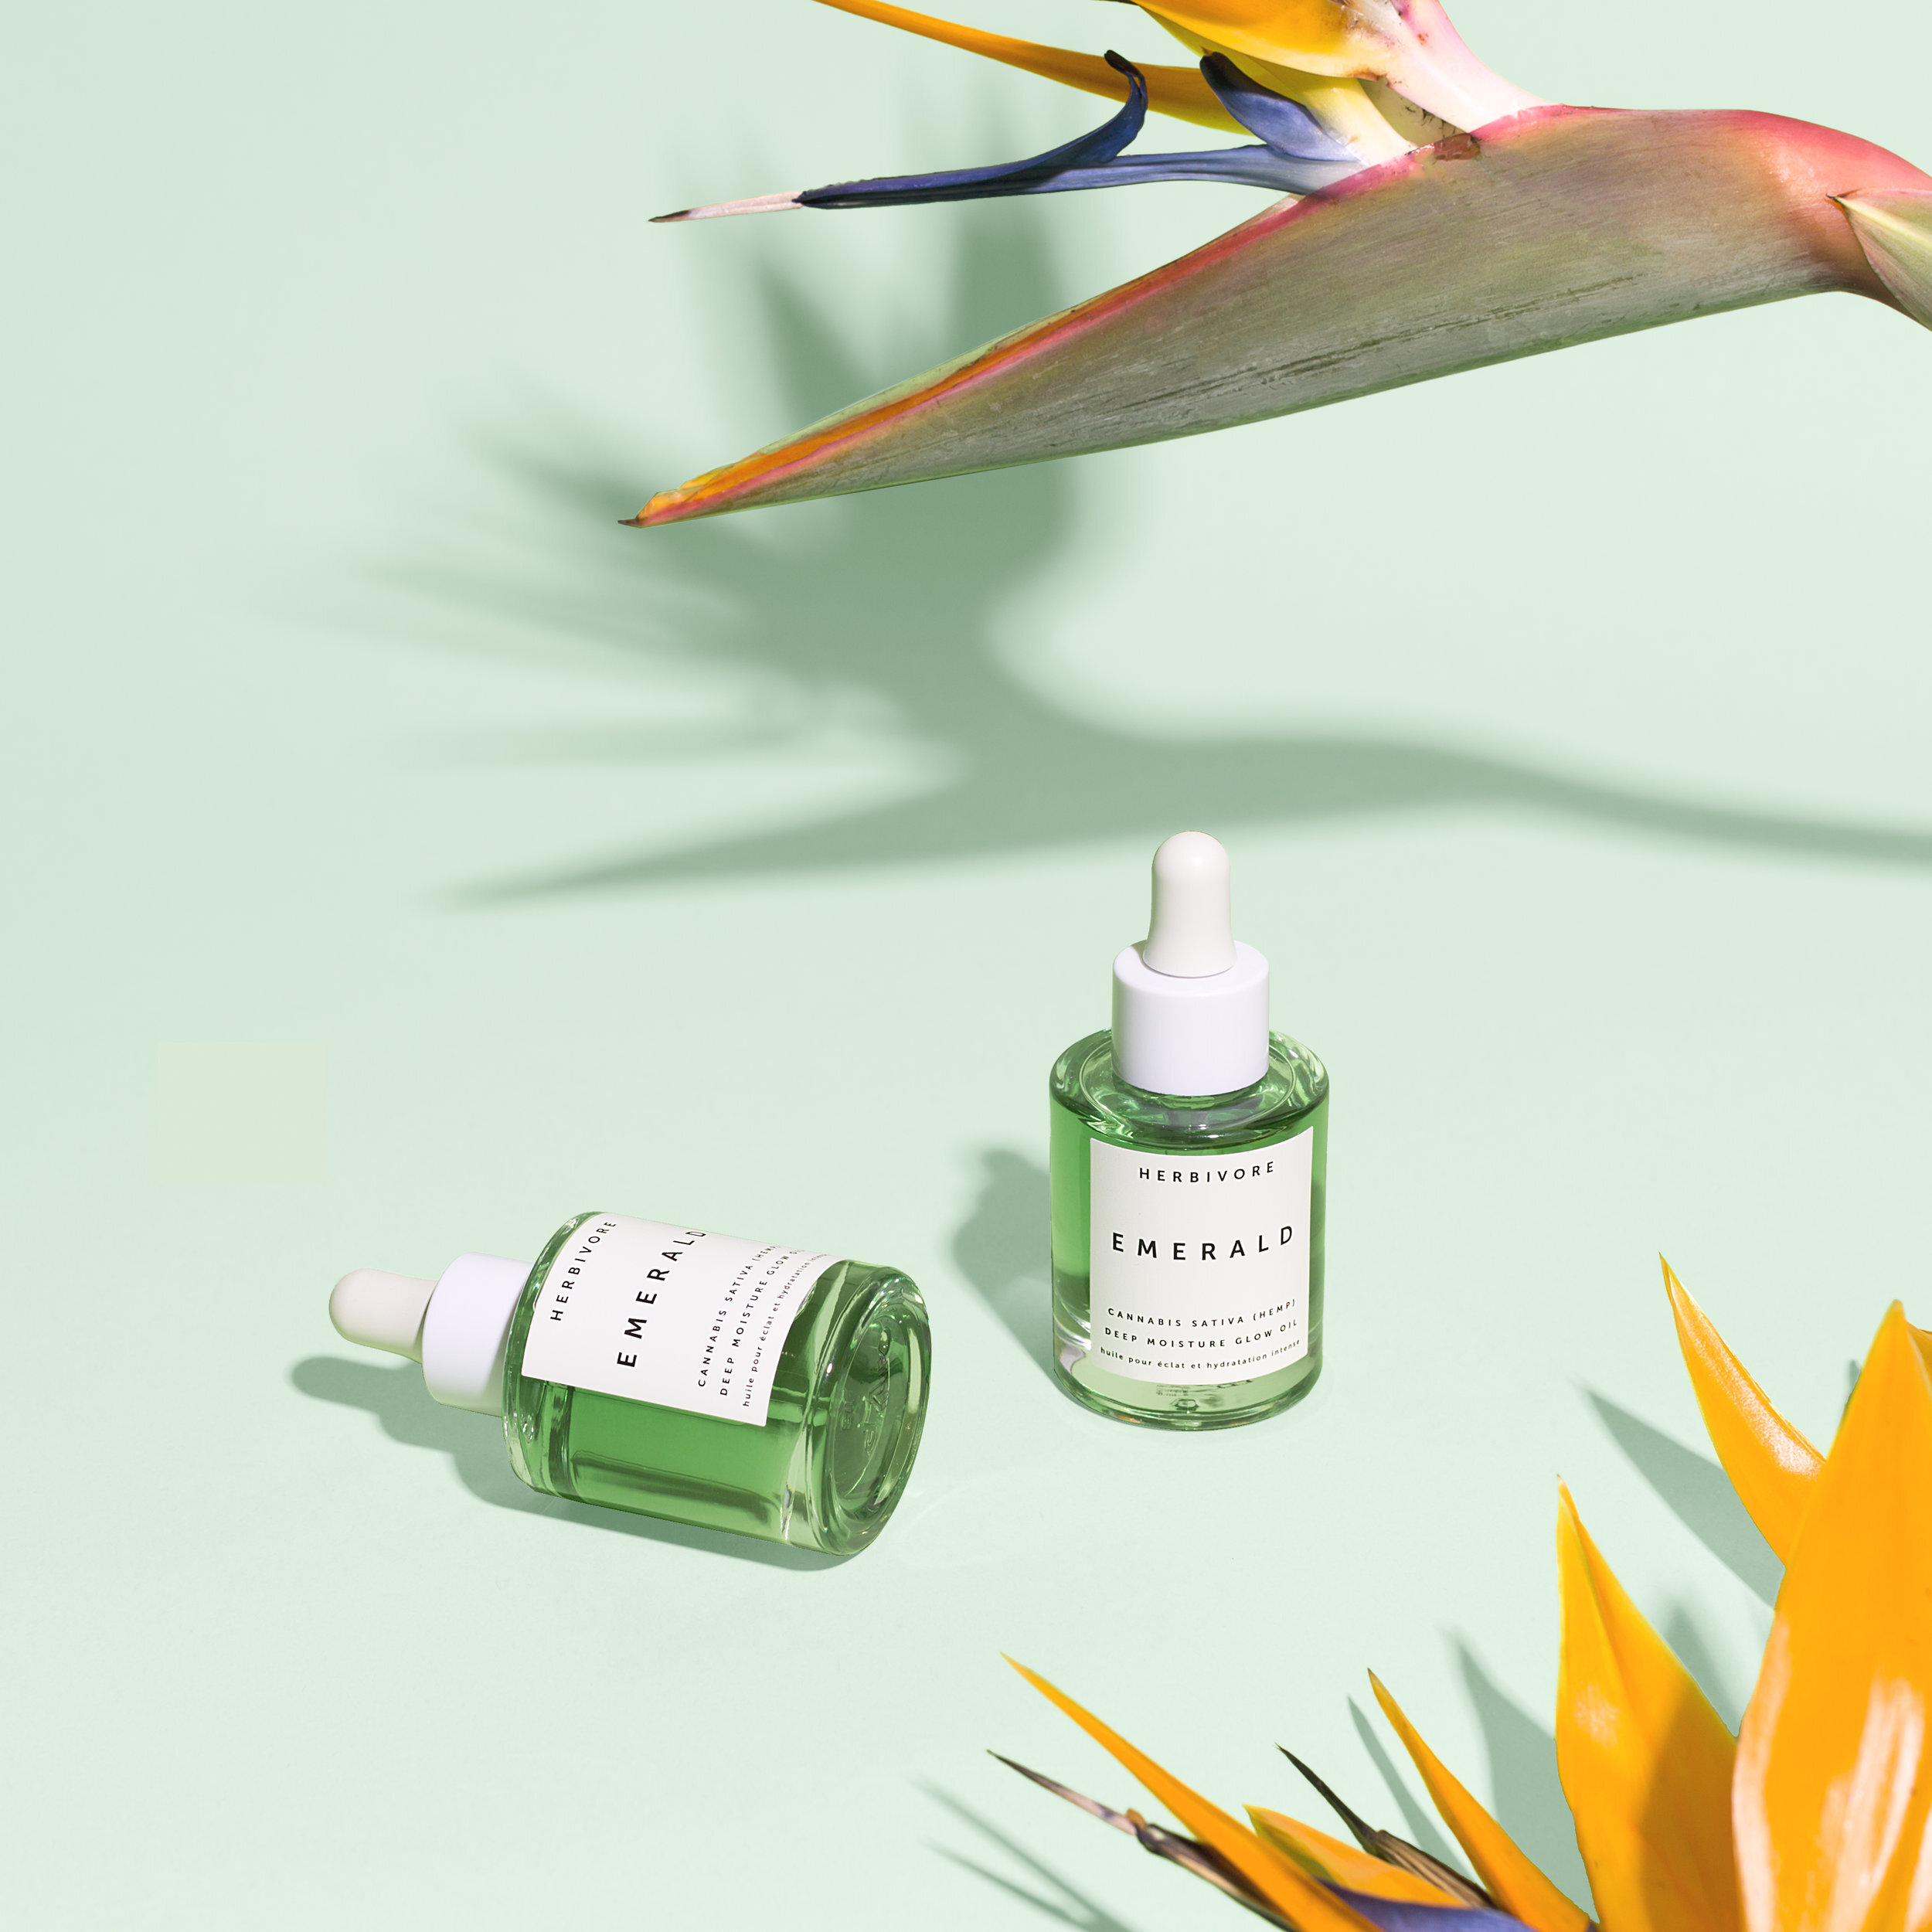
Paper can also be used to create a scene. We tried this out with one of our first shoots for Volition Beauty by creating an entire paper forrest by hand. This shot was awesome in theory, but we went a little overboard on the trees so it was kind of hard to distinguish them in the final shot. However, this idea could be used in many ways and if it were better executed it could create some really unique shots. An example of this would be a shot we took with paper leaves for Plant Magic. The leaves created a setting for the bottles to reside in and the colors brought in the “magic” element that wouldn’t have been there if we had used real leaves. You could create so many different kinds of scenes with paper. If you need your paper shapes to stand up, make little tabs on the bottom of the shapes so you can easily attach them to the “floor” and use wooden skewers if they need assistance standing up.


obstruction
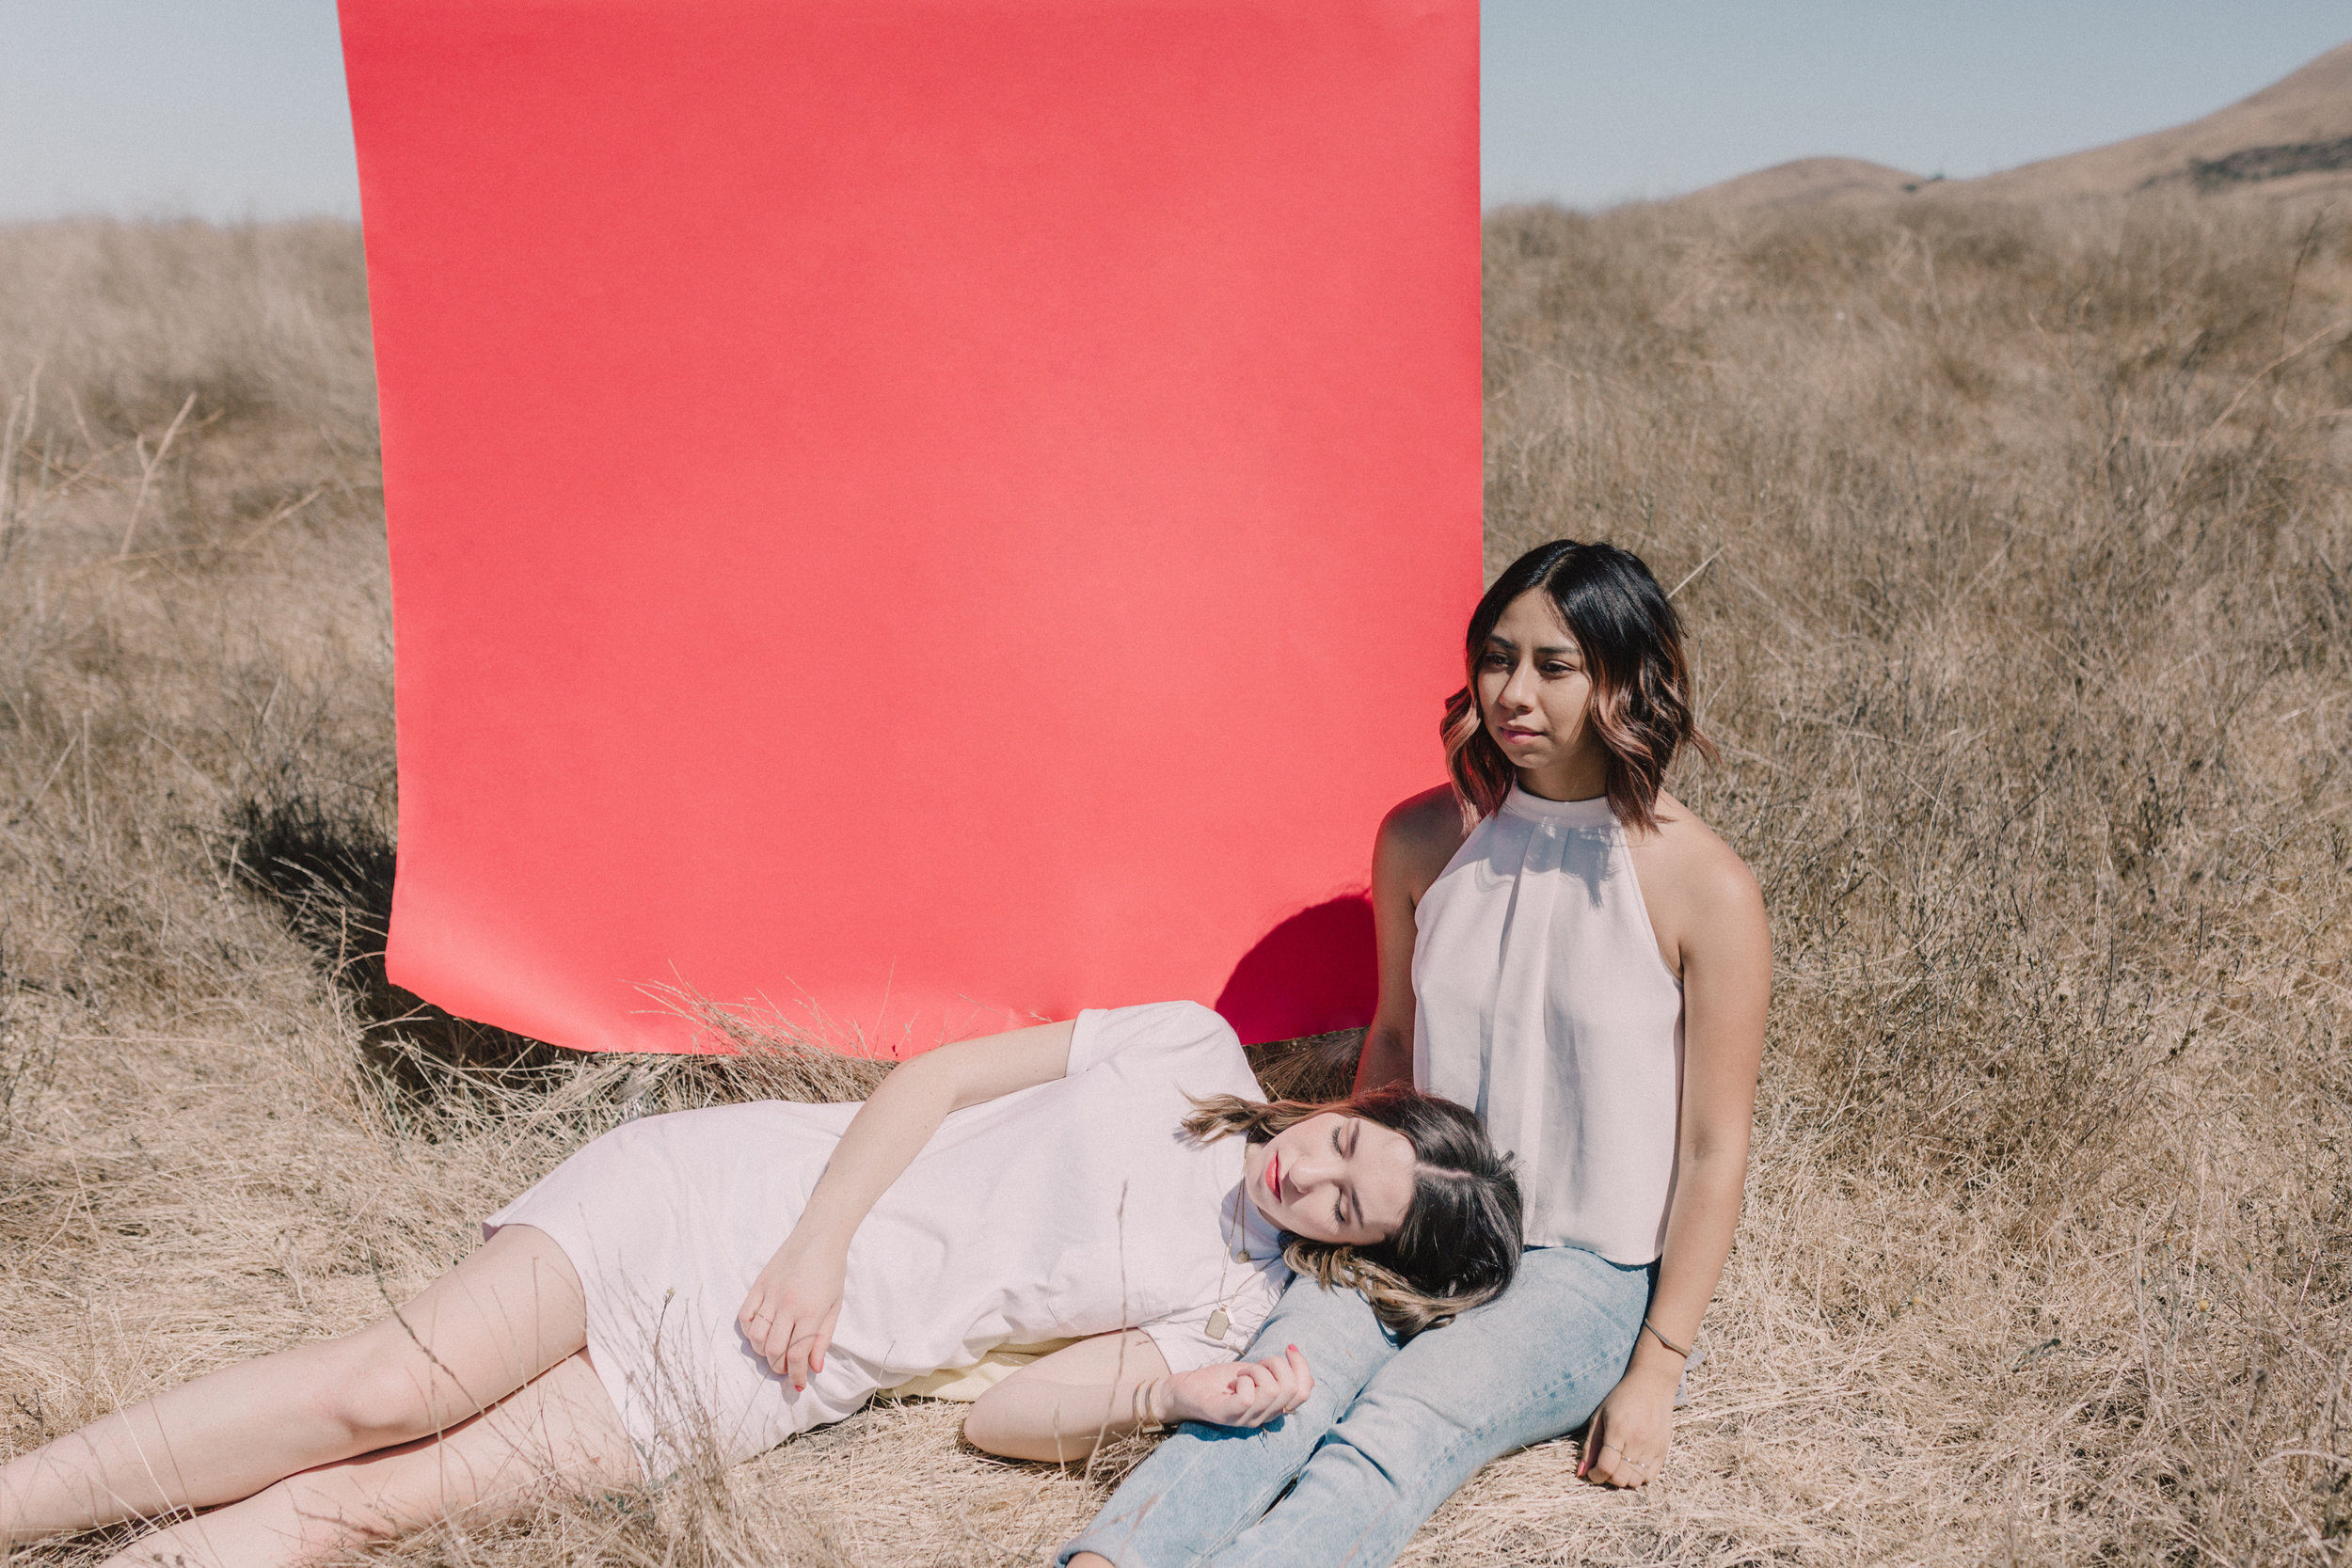
You can also use paper to obstruct part of the scene, creating interesting shapes in in the shot. We recently used this technique for Diane Villadsen’s paper challenge in her Facebook group. If you are looking for more inspiration on using paper in fashion shoots, check out her Instagram and website because she does this really well. For this shoot, we bought large poster board and then I cut out all the shapes by hand on set. We used a different color and shape for each outfit which was a fun way to mix it up.


I hope this post has been inspiring for you. Have you ever used paper in a photoshoot? Tag us in your shots on Instagram so we can see what you create!
Is it the weekend yet?
Elle